Casting The first head in clay

After fixing my scan and establishing the shape i wanted, It was time to 3D print my head in big. as big as i can, so i printed the head very large and once that was done i drew sections on it with a sharpie to establish the best way to cast it.11145975_10206345661982004_1359142931_n

I stuck clay in the sections of my head that had drastic under cuts, i was willing to compromise rather greatly to the cast finished. casting it thick and then sculpting it by hand afterward seemed like a good idea.11130603_10206345662182009_1967226410_n

Each piece of the mould was definitely its own challenge. I knew my head would be the hardest which is why i started with it, because i wanted it out of the way.

This slideshow requires JavaScript.

A few of the parts of the mould failed and i had to recast them and reposition the clay. it took quite a while to complete.

IMG_3309
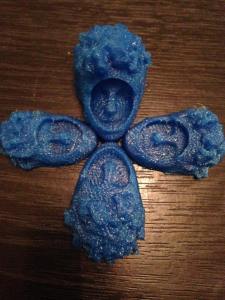
In total the cast was 8 parts.

Once finished I put it in the drying rack for a few days, considering its size it needed a good few days.

I was now able to cast and test the mould. This was definitely abit tense considering how long the mould took to make. I used regular slip to start and as always the first mould is usually the worst and also going to clean out all the crap inside the plaster.

Good start.

Each part removed revealed a very solid cast.961500_10206345662942028_1269707190_n

Then finally!

This slideshow requires JavaScript.

The cast was perfect, it required ALOT of fettling but it was pretty much what i expected.

After a few more casts the mould was cleaning up. So i focused on getting a moderately thick cast and began sculpting into the hair to bring back the undercuts.11096894_10206345742264011_1705803388_n

This was certainly pretty time consuming, but was worth it. it definitely improved the overall look and definition of the cast.

This slideshow requires JavaScript.

The results after making a few..

11131986_10206345743144033_2061196929_n

They seem pretty good. Now to get them fired and glazed so i can gauge the shrinkage.

Making the moulds for the head shapes

11225712_10206586044111407_1865913275_nThe mould I created for this 3D print was supposed to be a test for how I could fit faceplates into the full head in clay. After a chat with Ingrid that evolved into using lustre in the centre shape to display a void.

11256441_10206586044231410_648635808_n

11257642_10206586044391414_906649824_nI drew some pencil lines on the piece to work out the undercuts.

 I created the plaster mould sections for the cast, It got a little rushed as some of the pieces had to be moulded more than once. getting that inside circle to cast was a challenge! It kept breaking, so I rounded off the inside edge with some clay, That seemed to solve the issue.

11245406_10206586044431415_1940551721_n

The inside of the mould was proving it would display ALOT of fettle marks, simply putting the mould together to set up was a bit tricky.

This mould is rather poor, its not even on all sides, proving the slip wouldn’t dry equally, and is just not that neat..

should prove adequate for now though, because of its difficulty to make.

Professional Practice – Danny Choo

I wanted to say something about Danny Choo for a few reasons. He exemplifies that spirit of hard work and for me he has moved abroad and has started his own company that is two things that I would very much like to achieve.

His business of creating the dolls doesn’t interest me. But his model of creating a studio that makes these rather well made pieces that sell to a very specific niche is interesting.

And the fact he learned the language and moved abroad speaks alot of the possibilities of what you can do if you work hard. Danny Has written many blog posts on the topic.

He is currently working on a smartdoll, of which the making process is using some digital fabrication and casting which i have some experience in.

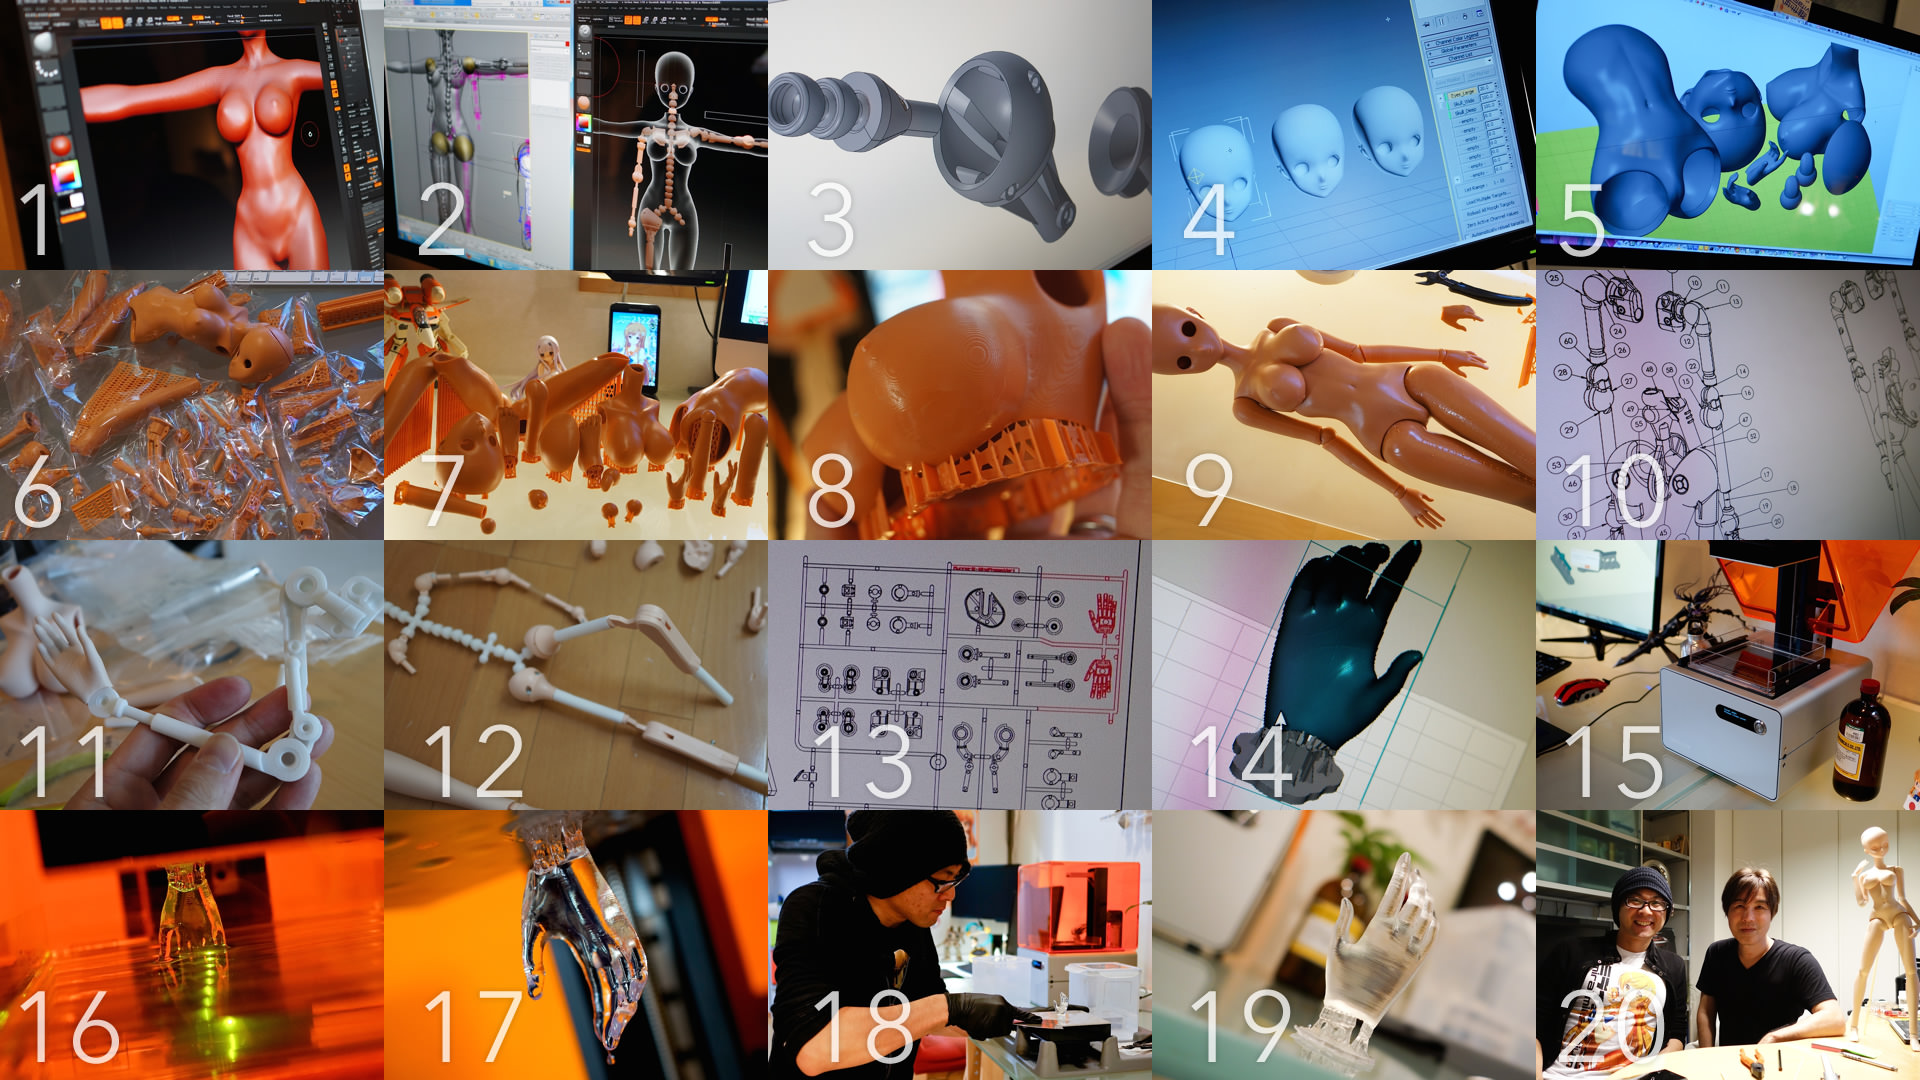
These processes are new for Danny so he is documenting all of them as he goes which is good because he also records his pitfalls as well as reviews the 3d printers and techniques he uses and learns with in his studio.

Say what you want about the dolls, But a market has been identified and research has been put into every aspect such as the look height, materials even the packaging. these are just crucial things to pay attention to as a maker and designer.

Danny Choo has a very unique employment style, i have checked his jobs page and he assigns tasks to complete, he seems to value ingenuity and creative initiative above experience by which he states in the tasks to please use “google sensei” to help.

This is so refreshing especially considering thats how i learn so much. and also a management style i want to pay attention to and learn from.

http://www.dannychoo.com/en/post/27275/The+Making+of+Smart+Doll.html

Prototyping Head Bases

I am really struggling with the shaping and layout of the head. In an ideal world it would be a bust like a roman emperor. but i just simply wont be able to get the bronze faceplates to stick on. So i need to rely on gravity. I printed a few little prototypes to establish a good idea of shape and aesthetic.Screen Shot 2015-02-12 at 18.00.59

I also polled a few of my friends on what they preferred.11101481_10206345553059281_1078180770_n

In the end i chose this shape and i also printed the faceplate that goes on top. this was a great proof of concept, now i know it works!

though there is that issue of the shape not being a perfect circle.